Modify Template On Squarespace: A Step-by-Step Guide
Squarespace is a popular site builder that offers a range of templates for various type of websites, from blog to e-commerce sites. Still, as your site grows and evolves, you may need to change templet to better befit your needs. In this article, we will walk you through the operation of changing templates on Squarespace, include the stairs to postdate and some important notes to keep in judgement.
Step 1: Log in to Your Squarespace Account
To start the process of changing templates on Squarespace, you need to log in to your account. Go to the Squarespace website and enrol your e-mail address and watchword to approach your history.
🔒 Make sure you have a valid email speech and watchword to avoid any matter during the process.
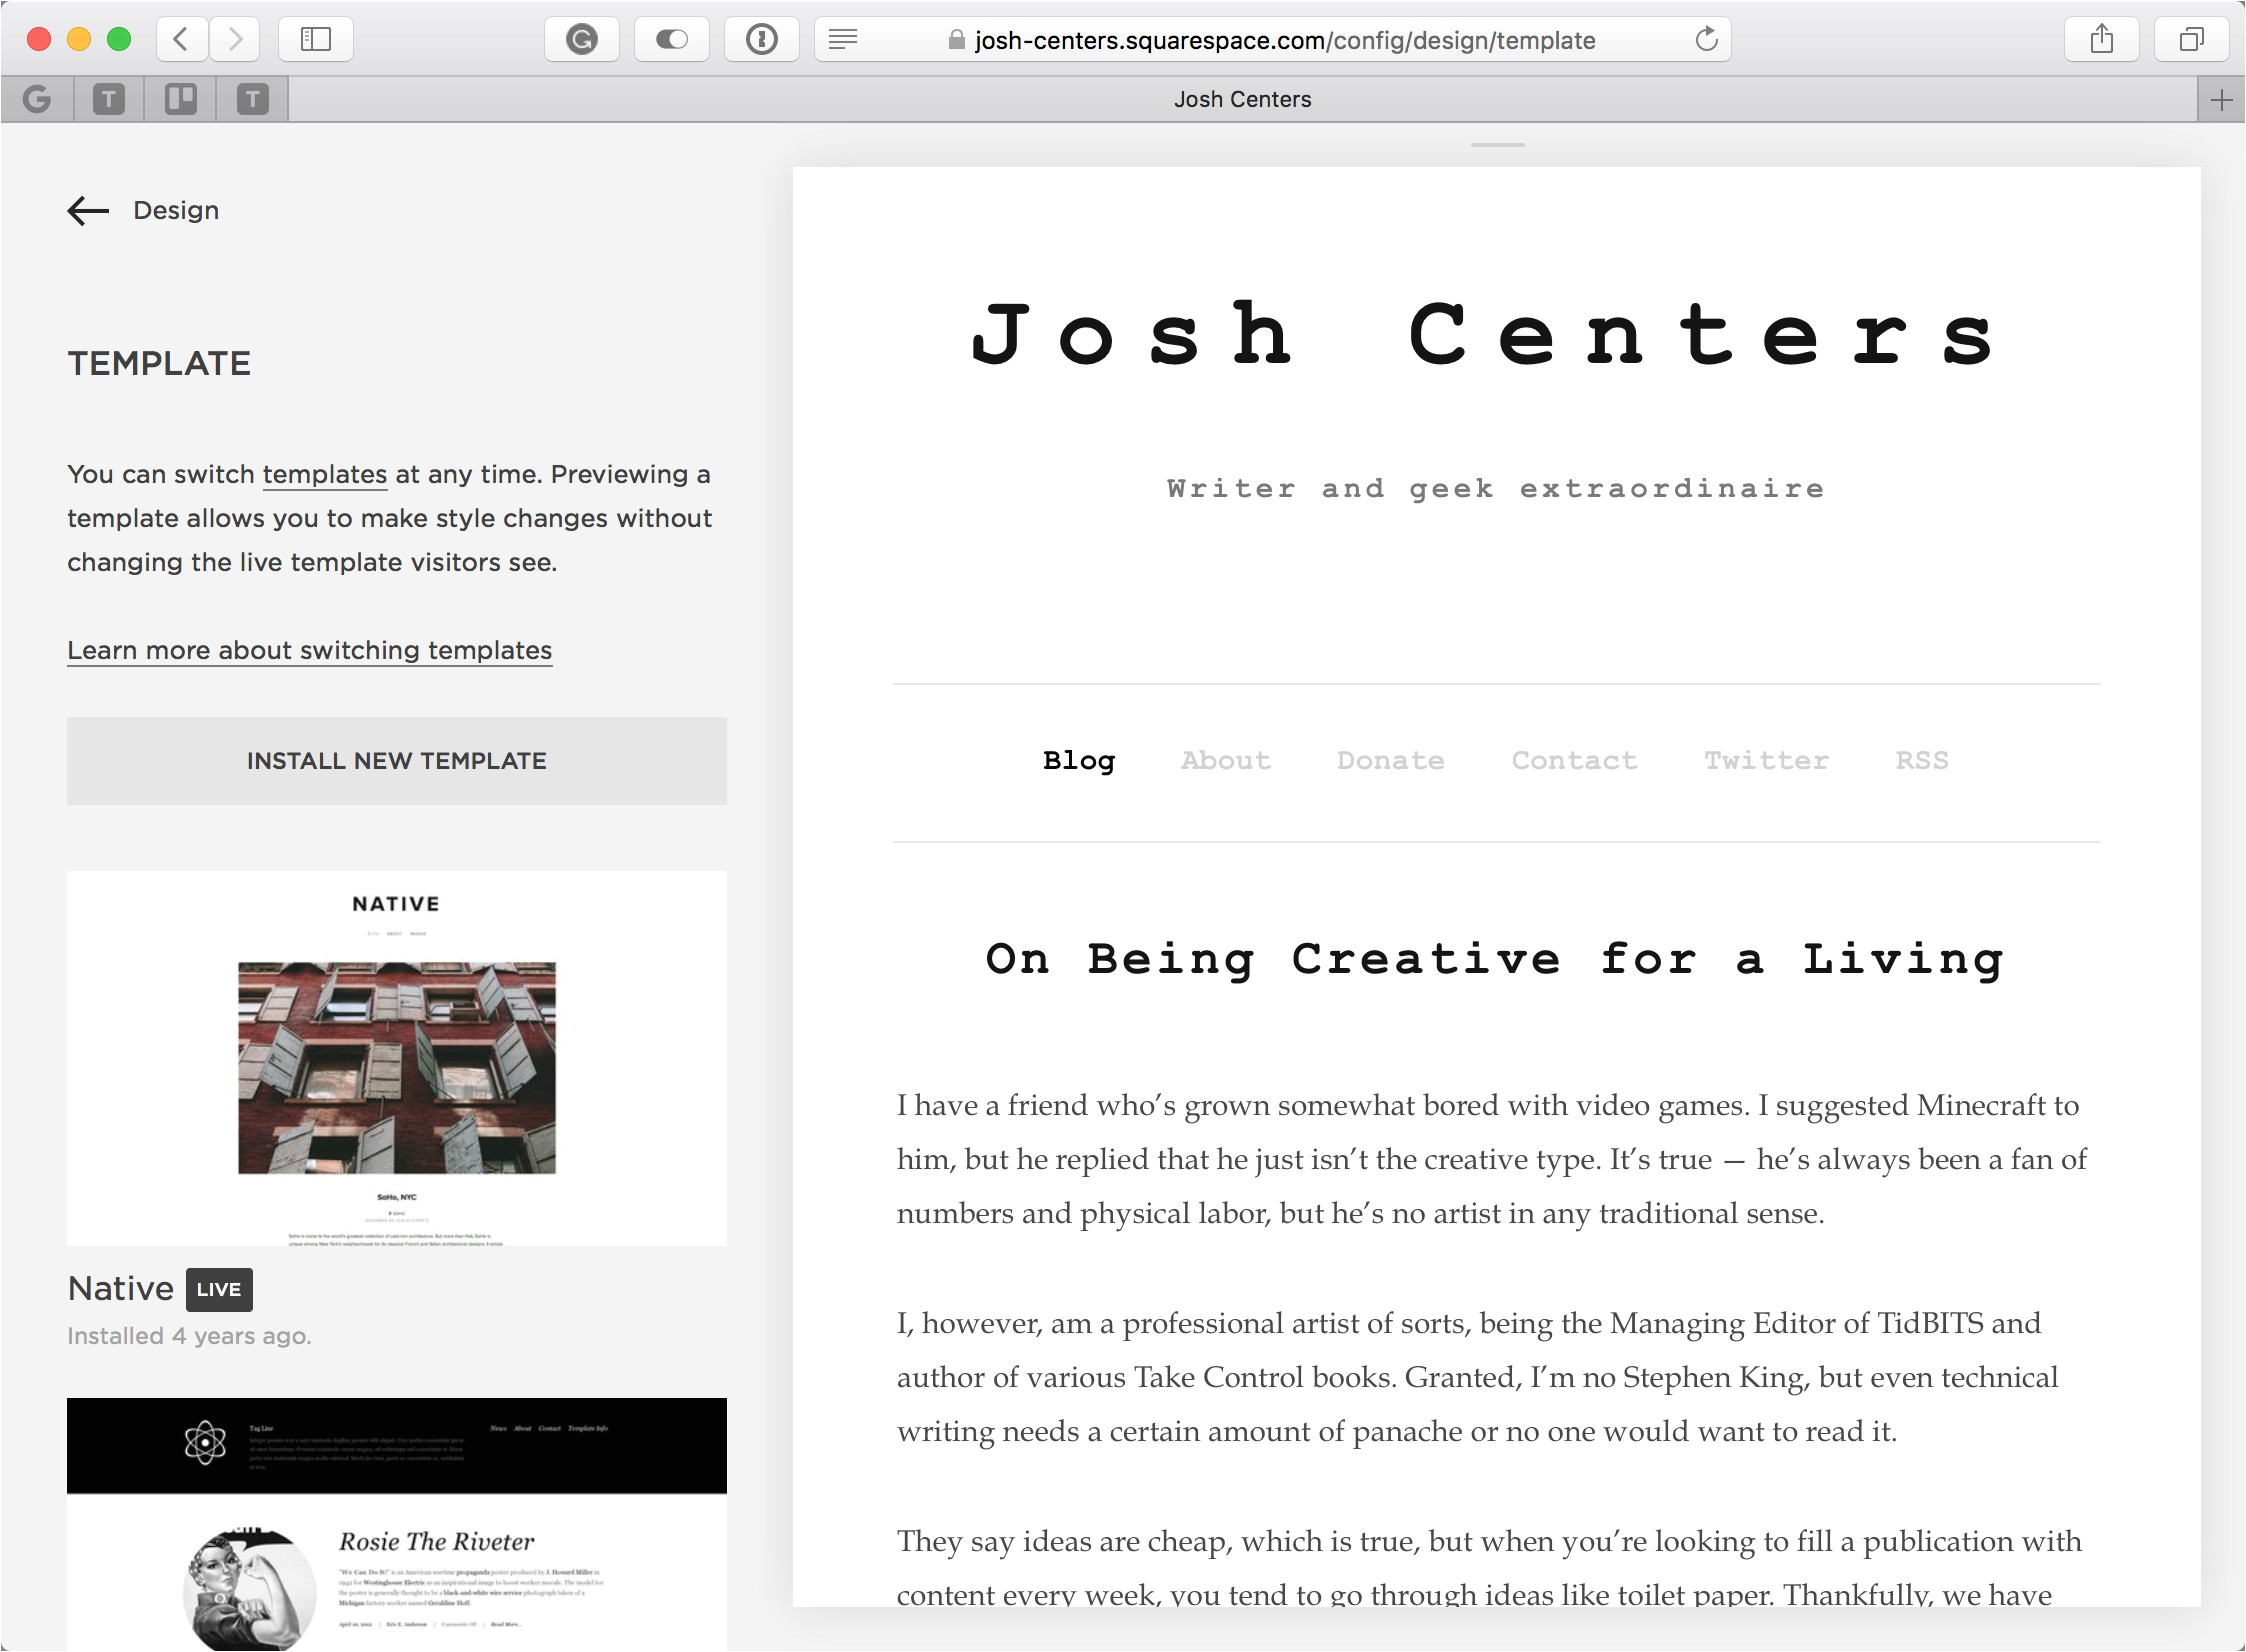
Step 2: Go to the Template Page
Erstwhile you are lumber in, click on the "Templates" tab on the left-hand side of the dashboard. This will occupy you to the templet page, where you can surf through the uncommitted templates.
🔍 Use the filter options to specialize down your search by templet type, layout, and other criteria.
Step 3: Choose a New Template
From the template page, browse through the usable templet and choose the one that better suits your needs. Click on the guide to watch it in more point.
👀 Pay attention to the templet's characteristic, such as the layout, design, and functionality, to ensure it meets your necessary.
Step 4: Download the Template
Once you have chosen a templet, click on the "Download" button to download it to your reckoner.
📦 Make sure to download the template in the correct formatting, which is usually a .zip file.
Step 5: Upload the Template to Squarespace
After download the guide, go rearwards to your Squarespace splashboard and click on the "Upload" push.
📈 Upload the templet file to your Squarespace account, and waiting for it to process.
Step 6: Configure the Template
Erst the templet has been uploaded, you take to configure it to befit your needs. This include put up the layout, contribute content, and custom-make the design.
🔧 Use the Squarespace editor to customize the guide and make it your own.
| Measure | Actions |
|---|---|
| Stride 7: Preview the Template | Click on the "Preview" button to see how the templet appear on your site. |
| Step 8: Make Final Change | Make any terminal changes to the template before publishing it. |
| Step 9: Publish the Template | Click on the "Publish" push to do the template live on your site. |
👍 Double-check that everything is working as expected before publishing the templet.
🔒 Note: Make sure you have a backup of your old templet before uploading a new one.
Common Issues and Solutions
Some common issues that may arise when changing templet on Squarespace include:
- Template not uploading: Check that the templet file is in the correct formatting and that you have the necessary license to upload file to your Squarespace story.
- Template not expose correctly: Insure that the guide is compatible with your Squarespace program and that you have update your website's setting consequently.
- Design subject: Insure that you have updated your website's design scene and that the templet is decently configured.
🤔 Consult the Squarespace support team if you encounter any issues during the operation.
👏 Changing templet on Squarespace can be a straightforward procedure if you follow these measure and lead the necessary guard.
📚 For more information on Squarespace guide and how to alter them, relate to the Squarespace documentation and support imagination.
Related Damage:
- squarespace modification site template
- how to edit squarespace template
- how to change squarespace 7.1
- how customizable is squarespace
- squarespace website template
- squarespace 7.1 change template